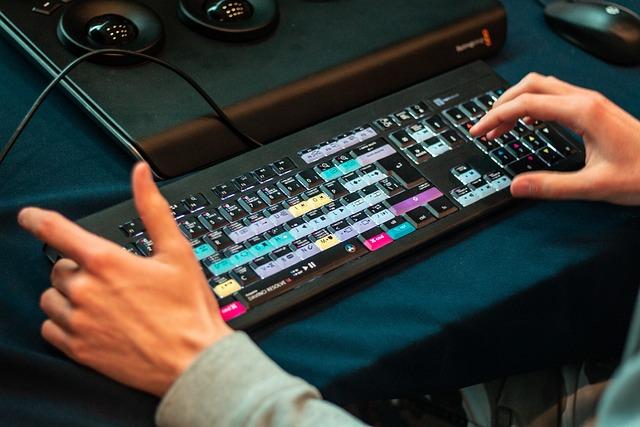
Lights, camera, color! Have you ever wondered how filmmakers achieve those captivating, vibrant visuals that draw you into the world of their stories? Welcome to the art of cinematic color grading, where every hue, shade, and tone plays a vital role in shaping the mood and atmosphere of a film. In this article, we will embark on a journey through the colorful realm of color grading, demystifying the process and showcasing how you can bring your videos to life with just a few simple steps using CapCut. Get ready to unleash your inner artist and transform your videos into cinematic masterpieces!
1. Mastering Cinematic Color Grading Techniques in CapCut

Mastering cinematic color grading in CapCut is made simple with these easy-to-follow techniques. If you’re shooting in log, the first step is to make your footage look normal by adding contrast and saturation. Using the color oscilloscope and curves adjustment tool, you can create an S-shaped Luma curve to enhance your video’s contrast and color depth. Adjusting the shadows, highlights, and midtones will help you achieve the desired look without losing important details in your footage. Remember, practice makes perfect, so don’t be afraid to experiment and fine-tune your color grading skills.
Moving on to the fun part, applying filters in CapCut is where the magic happens. Even in the free version, there are plenty of filters to choose from to enhance your video’s visual appeal. Once you’ve picked a filter, you can further customize it with basic adjustments like white balance, tint, contrast, and brilliance sliders. Additionally, exploring tools like HSL (Hue, Saturation, Lightness) and RGB curves will give you more precise control over individual colors and tones in your video. Whether you prefer a subtle color enhancement or a bold cinematic look, CapCut provides the flexibility and creative freedom to bring your vision to life effortlessly. Practice, experiment, and most importantly, have fun with your color grading journey in CapCut!
2. Fine-tuning Color Balance and Saturation for Stunning Visuals

When it comes to achieving stunning visuals through cinematic color grading in CapCut, fine-tuning color balance and saturation is key. The process may seem daunting at first, but with the right techniques, it can be a seamless endeavor.
Firstly, if you shoot in a log profile, your footage might appear flat initially, lacking saturation and contrast. To transform this into a visually appealing clip, adding contrast and saturation is crucial. By utilizing the Color Oscilloscope feature and adjusting the curves in CapCut, you can breathe life into your footage. Creating an S-shaped Luma curve can enhance the contrast, while manipulating the highlights and shadows can further refine the visual aesthetics. Remember, there’s no one-size-fits-all approach here; tweaking the curves based on your specific footage and preferences is the key to achieving the desired results. Additionally, adjusting the saturation and fine-tuning the color balance can elevate the overall look of your video, ensuring a polished and professional finish.
Furthermore, when applying filters for color grading, consider experimenting with different tools available in CapCut. From basic adjustments to RGB curves, each tool offers a unique way to enhance the colors in your footage. The HSL tool allows you to target specific colors and adjust their tint, saturation, or lightness, offering a personalized touch to your visuals. Additionally, delving into the RGB curves can give you more precise control over individual color channels, allowing you to create custom looks tailored to your preferences. Remember, the art of color grading lies in finding the balance between natural and stylized hues, so don’t be afraid to explore different tools and techniques to craft visually captivating content.
3. Unleashing Creativity with Advanced Color Grading Tools

in CapCut opens up a world of possibilities for transforming your footage into cinematic masterpieces effortlessly. With just a few simple steps, you can elevate your videos to a professional level, all within the free version of CapCut. The first crucial step is catering to log footage, characterized by its flat, low contrast, and saturation appearance. By utilizing the color oscilloscope and curves adjustment features, you can breathe life into your footage by adding contrast with an S-shaped Luma curve. This step not only normalizes your log footage but also sets the foundation for further enhancements.
Once you’ve mastered the art of contrast and saturation adjustments, the next phase involves perfecting the color tones through basic adjustments and fine-tuning. Whether it’s tweaking the white balance, adjusting tint for warmth, or enhancing brilliance for that extra pop, CapCut provides intuitive tools to customize your video’s color palette. Additionally, delving into the HSL tool allows you to selectively modify specific colors within your frame, offering a tailored approach to color grading. For those seeking an advanced level of control, the RGB curves feature unlocks boundless creative potential by enabling precise adjustments to individual color channels across shadows, highlights, and midtones. By practicing these techniques and experimenting with various tools, you’ll not only enhance the visual appeal of your videos but also develop a keen eye for color grading nuances.
Q&A
Q: What is the purpose of shooting in a log profile when it comes to cinematic color grading in CapCut?
A: Shooting in a log profile allows the camera to capture more information and dynamic range, even though the footage initially appears flat with no saturation or contrast. This provides more flexibility during the color grading process.
Q: How can users make their log footage look normal before starting the color grading process in CapCut?
A: To make log footage look normal, users need to add contrast and saturation manually. This can be done by creating an S-shaped Luma curve in the curves adjustment panel, expanding the waveform to balance shadows, highlights, and midtones without overdoing it.
Q: What advice is given regarding the process of color grading using CapCut’s filters?
A: When applying filters in CapCut for color grading, it’s highlighted that the filter doesn’t have to be exactly to the user’s liking initially, as adjustments can still be made after applying the filter. Users are encouraged to experiment with different tools available to achieve the desired look.
Q: What are some tools mentioned for tweaking the actual colors of an image during color grading in CapCut?
A: Two important tools for adjusting colors in CapCut are the HSL tool and the RGB curves. The HSL tool allows users to change the tint, saturation, or lightness of specific colors in the image. The RGB curves provide control over individual color channels (red, green, blue) in shadows, highlights, and midtones for precise color adjustments.
Q: What is emphasized as the most important aspect of mastering cinematic color grading in CapCut?
A: The importance of practice is emphasized as the key to mastering cinematic color grading in CapCut. Experimenting with sliders, curves, and various adjustments, while understanding the impact on different elements of the image, is crucial for developing proficiency in color grading skills. Practicing regularly and exploring different tools is encouraged for optimal results.
In Conclusion
And just like that, we’ve unraveled the mysteries of cinematic color grading in CapCut. It’s been a whirlwind journey from transforming flat log footage to vibrant, eye-catching visuals. The power to manipulate contrasts, highlights, shadows, and colors lies at your fingertips, offering you full creative control over your projects.
As our tutorial comes to an end, remember that practice makes perfect. Experiment with different tools, sliders, and filters to achieve the desired look for your videos. Whether you’re adjusting tint, white balance, or diving into the intricacies of RGB curves, each adjustment adds a unique touch to your cinematic masterpiece.
So, grab your footage, unleash your creativity, and let your imagination run wild. With CapCut’s user-friendly interface and powerful features, you’re just a few clicks away from transforming ordinary videos into cinematic wonders. And hey, don’t forget about the music – set the mood right with high-quality tunes from platforms like Audio to elevate your visual storytelling even further.
Now, armed with the knowledge gained from this tutorial, go forth and conquer the world of cinematic color grading with confidence and flair. The possibilities are endless, and the creative realm is yours to explore. So, go ahead, tinker with those color curves, fine-tune those hues, and let your vision shine through. Happy editing!
